top of page
Snehal.
How I Build
Step-by-step breakdowns of my Workflows which make my projects shine
CASE STUDY 1 :
Unreal Engine Motion Design
Unreal Engine 5 based Motion Design:
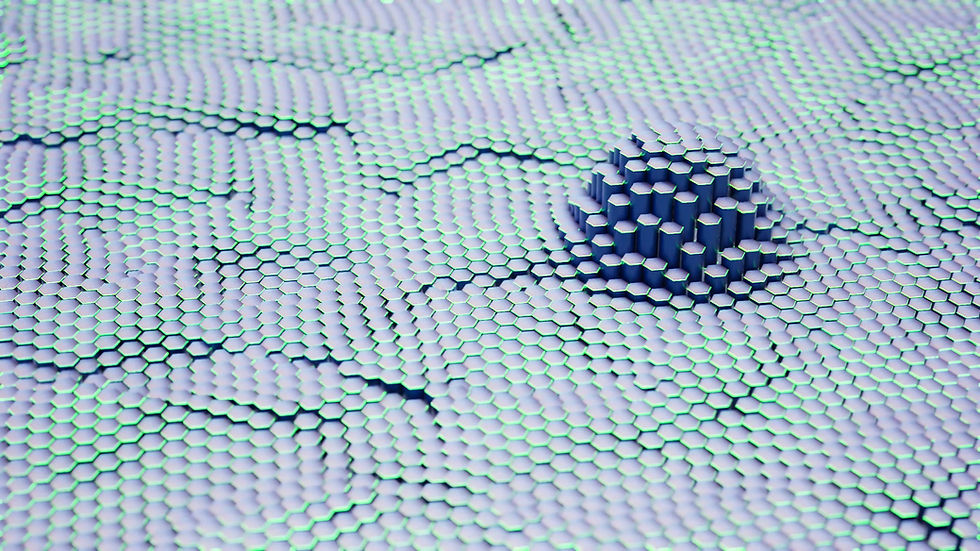
Abstract and dynamic 3d hexagonal motion graphics using Cloner, various effectors and unique workflow.
WORKFLOW
Unreal Engine 5 based Motion Design workflow:
Modelled a 3D hexagonal cylinder mesh in Blender, with 3 different PBR materials. Exported it as FBX.
Imported the FBX into Unreal Engine 5 and set it at origin alongwith correct PBR materials, textures and emission where needed.

Blender

Unreal Engine 5
Setup a Cloner Component with the Hexagon mesh as a child.
Setup the layout as linear Honeycomb, Plane XY, Width and Height Counts as 140, 100 resp.
Width and Height Offsets as 0, 0.5.
Width and Height spacings as 165, 190 resp. after trial and error for best aesthetics.
We'll get a hexagonal lattice as seen in screenshot.
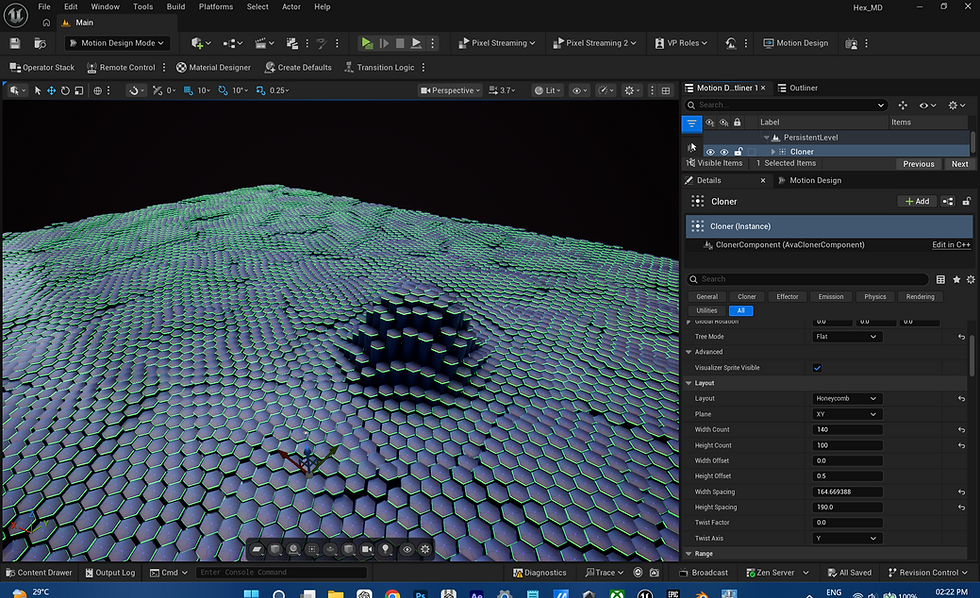
Setup an Effector called Effector A with no bounds, which causes random hexagonal lattice deformations so as to get a generative wave like animation across the coned hexagonal lattice.
Setup another Effector called Effector B with a spherical shape with smooth 'In Out Cubic' sampling Easing/Fallout which deforms a localised height deformation in its sphere, as seen in image.
Tweak the Inner, Outer Radii till we get the desired result.
This Effector B can be animated via Sequencer to get a smooth motion design.

Placed a texture sample alongwith zero emission, specfic metallic, specular and roughness properties for the Hexagonal mesh's top face to get a certain desirable look.
Also edit the other materials to attain certain metallic and emission aesthetics.

Setup the Cinematic Camera and EffectorB tracks in a level sequence.
Place keyframes and animate both to get the desired render show on the top of this page.

Keyframe in the Cinematic Camera's properties on the timeline to get our depth of field based cinematic render:
Aperture 0.01 to get a deep out of focus blur in the background.
Focal Length of camera 50mm.
Manual Exposure -2.0 to compensate for the stylised extremely low aperture to avoid blown out whites and contrats.
Manual Focus point keyframed in to make sure focal length plane is always on the Effector B deformation.
Saturation 1.1, to get a better looking render with full colors, but not too over the top.
Render out using Media Render (Legacy) at 60 fps and 4K resolution.

---- End of Case Study 1 ----

CASE STUDY 2 :
After Effects Smooth Motion Graphics
Adobe After Effects based smooth Apple style Motion Graphics with a 3d twist.
WORKFLOW
After Effects Motion Graphics worflow:
Setup a rounded rectangle named Frame (as highlighted in image), this is the UI base.
Set expression based keyframes in its Rectangle Path's size value such that it scales up, and horizontally with a delayed bounce effect.

Duplicated the frame layer, renamed it to Circle. (Blue element with arrow in image).
Used a similar expression like the previous one to keyframe the scale(unlinked) property of the circle rounded rectangle from 0,0 to 73%, so it scales up with a bouncy effect too.
Also used a similar expression to keyframe the layer's Position for a following horizontal scale up animation too.
The arrow was also added in with a Pen tool in the same layer.

The Frame rectangle expands horizontally to search bar, then into the box seen in image.
The Circle blue button also transforms into a black 'Pay' button after clicking as seen in image.
Opacity, size, fill color, scale, position, Layer scale transform properties are all keyframed as shown to achieve the effect.
Specific expressions written into some of the essential properties ensure dynamic bouncy aniamtions along curve paths.
A 'Circle Controller' Null Object layer has Circle as its child so that its position can be controlled in a non-destructive way.


CASE STUDY 2 :
Blender Environment Art
Blender based Environment Art workflow from modelling to render output.
WORKFLOW
Blender 3D Environment Art worflow:
Setup a scene with 3D modelled mountains, Cloud VDB volumetric assets placed aeshetically as suited to a environment artist.

Setup a cinematic camera such that the scene looks dramatic and alive in the frame.

Set the Camera's Focal Length to 150mm for a long telephoto shot with artificial Depth of field.
Tick the Depth of Field option box, and set a object to focus sharply on.
The camera will focus on the object even if it moves.

Set the Camera's Focal Length to 150mm for a long telephoto shot with artificial Depth of field.
Tick the Depth of Field option box, and set a object to focus sharply on.
The camera will focus on the object even if it moves.

bottom of page